Blog-Doc
The Simplest Node.js CMS & SSG!
A tiny flame in the darkness of error...
| 👀 PREVIEW |
|---|
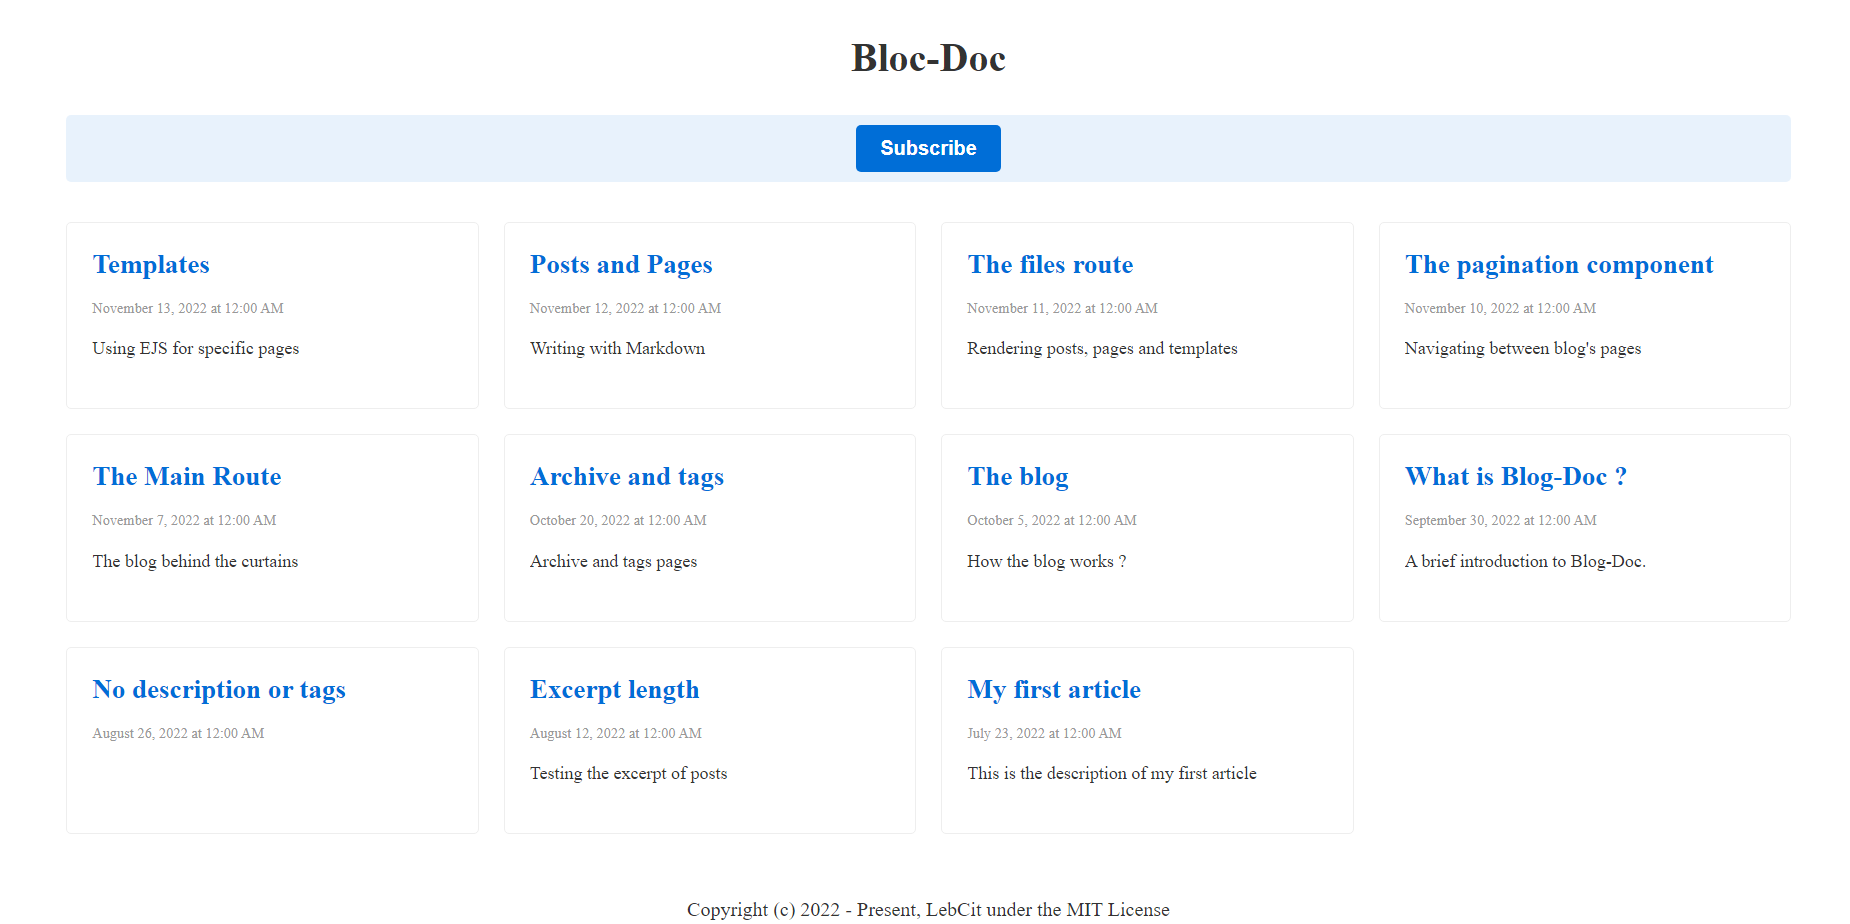
| Blog-Doc's static site demo |
Motivation & Purpose
With all due respect to the time and hard work of every developer who made a Static Site Generator with Node.js, including the previous versions of Blog-Doc, those are gasworks!
I offer my sincerest apologies in advance to each one of these developers, but an app is not supposed to be a gasworks...
Please read From 145 to 7 💪
Also read The New Blog-Doc
Requirements
- Blog-Doc works on Node.js versions greater than 18.x.
- Use the latest version of each major release.
- The latest version of npm
Solid stack of technologies 🪨
Backend (input)
- Node.js 18.x or higher.
- Hono, small, simple, and ultrafast web framework for the Edges.
- Eta, lightweight, powerful, pluggable embedded JS template engine.
- Marked, Markdown parser and compiler. Built for speed.
Frontend (output)
- HTML, CSS and a tiny JS file.
Blazing fast and simple 🚀
- A zero code configuration static site generator.
- Ready to use on your Node.js server as a Node.js CMS.
- Ready to use, after build, as a static site.
- Without any unnecessary functionalities, loads in a blink of an eye.
- Easy to install and use.
Design 🎨
- Responsive, elegant and simple layout.
- Ready to use template for blog and/or documentation.
- Easy to modify if you opt for another design.
Features ⚡
- Administrate your app from the front-end!

- Themes to change the look and feel of your site!

- Gallery to upload your images

- Create, Read, Update & Delete your pages and posts

- Paginated blog with chosen number of posts per page

- Posts pagination to navigate between your posts

- Write your content in Markdown

- Ability to use HTML in Markdown

- Tag(s) for posts

- Featured image for posts and pages

- Archive route for posts

- Tags list route

- Individual route for each tag

- Titles & Meta Descriptions

- Drag and drop your menu links to sort them

- RSS feed

- Sitemap

- Search

- Code highlighting with highlight.js

- Ids for H2 till H4 in Markdown

- No need for hot reloading in development mode

How to install Blog-Doc?
Blog-Doc is a Node.js app. You should have Node.js on your machine.
Always go for the LTS version.
If you want to try Blog-Doc, head over it's Github repository and download it.
You can also download it's zip by clicking on the following link: Blog-Doc ZIP.
Once downloaded, extract the zipped folders and files to a new folder and open it in your IDE (I use VS Code).
Another way is to directly clone the repository itself.
git clone https://github.com/LebCit/blog-doc.git
Whatever method you use to get Blog-Doc, the process after having it is to open the folder where Blog-Doc lives with your IDE and type in the terminal:
npm install
After the install, to see what Blog-Doc looks like, type in the terminal the following command:
npm run fire
This command will allow you to explore the app in the browser of your choice by visiting localhost on port 8080.
Blog-Doc comes with some posts and pages. You can now begin to create your own pages and posts from the administration, then remove the existing ones also from the administration.
I wish you an enjoyable trip with Blog-Doc 🚀
Generate a static site
To generate a static site out of the created content:
- Click the
Admin ⚡link. - Click the
Build Static Sitelink or card. - Download the
site.zipfile to your disk. - Extract
site.zipand open the extracted folder with you IDE. - Launch the site from the server of your IDE.
Alternatively, type the following command in the terminal:
npm run build
This command will create a _site folder in which all the necessary folders and files are created. You can now copy the entire content of the _site folder to the server of your choice or just test it locally.
Nota Bene: In both cases, the administration part and all of it's components will be removed from the generated static site!
How to use it?
Test it locally
Open the _site folder in your IDE, I use VS Code with the Live Server extension.
Launch the local server and you'll be able to explore the static site.
Host it!
Push the content of the _site folder to a host of your choice.
There are many free hosts for static sites. The most known are:
- Azure Static Web Apps
- Cloudflare Pages
- Deta Space
- GitHub Pages
- GitLab Pages
- Netlify
- Render
- Surge
- Vercel
Nota Bene: the above list can be much longer with the different services out there to host a static site!
RSS!
⚠️ You MUST provide the live URL of your site in the Settings page under the administration by modifying the siteURL value before deploying the application.
At build time, a rss.xml file is generated in the _site folder.
This file takes the live URL that you provided to generate the correct links for your feed.
Nota Bene: The live URL MUST end with a slash /
Of course, you MUST also modify siteTitle, siteDescription and rssCopyright in the Settings page.
You SHOULD replace the siteTitle, siteDescription and rssCopyright values with the ones of your site.
You MAY replace the rssSiteLanguage value with the language of your site.
A list of available language codes can be found on the RSS language codes page.
Bellow is a screenshot of the old RSS feed of Blog-Doc in Vivaldi browser
Sitemap
Like the RSS feed, you MUST provide the live URL of your site in the Settings page by modifying the siteURL value to generate the correct links for each page, post, tag and template as well as for the blog routes.
Please remember that the Site URL MUST end with a slash /
You can check the sitemap of your site under the /sitemap route.
At build time, a sitemap.xml is generated in the _site folder.
Search
Blog-Doc has a built-in search feature.
The search functionality allows a user to make a research on the titles and the contents of the posts.
You can check the search of your site under the /search route.
At build time, a posts.json and a search.js are generated in _site/js.
Also, at build time, an index.html is generated under the search folder in the _site folder.
You can disable the search in the Node.js app as well as for the generated static site by giving searchFeature a value of false in the Settings page.
Code highlighting
Blog-Doc uses highlight.js to highlight block of code.
To write inline code, surround your code with backticks ``.
To write a block of code, surround your block with a pair of 3 backticks ```.
To highlight it, provide the alias of the language for the block just after the first 3 backticks.
An example to highlight a block of CSS:
```css
p {
    color: red
}
```
We'll get the following output:
p {
    color: red;
}
⚠️ The alias of the code language, inline or block, is always lowercase ⚠️
Visit the Supported Languages of highlight.js to get the correct alias if you're unsure.
Alternatively, you can write a block of code without providing an alias, highlight.js will automatically detect the language.
If the highlighter fails to detect the correct language for a block of code without an alias, just add the desired language to the block as indicated above.
Ids for H2 till H4 in Markdown
Adding an id attribute to a heading tag, H2 till H4 only, is an optional activated feature by default.
This feature was built with edge cases and typing typos in mind:
- Regex to match curly braces ignoring everything before the last hashtag
- Replace accented characters, by their non accented letter
- Replace upper case letters by lower case one
- Remove special characters except hyphen and underscore
- Replace any number of underscore by one hyphen
- Replace any number of space by one hyphen
- Remove any number of hyphen at the beginning
- Replace any number of hyphen by one hyphen only
- Remove any number of hyphen at the end
To add an id, add a curly braces with a hashtag followed by the id's text.
The following examples will give you a better idea:
<!-- Heading tags with an id property -->

## My awesome H2 title {# my-awesome-h2-title}

The HTML output will be: <h2 id="my-awesome-h2-title">My awesome H2 title</h2>

### My awesome H3 title {# my awesome h3 title}

The HTML output will be: <h3 id="my-awesome-h3-title">My awesome H3 title</h3>

#### My awesome H4 title {# My awesome H4 title}

The HTML output will be: <h4 id="my-awesome-h4-title">My awesome H4 title</h4>
Every Whitespace is automatically replaced by a hyphen and any number of consecutive hyphens are replaced by one hyphen only.
Any number of hyphen at the beginning or the end of the id's text are removed so the following is also valid:
## My awesome H2 title { # ----- My ----- aWEsOMe ----- h2 ----- tITlE ----- }

Whatever the number of whitespace characters / hyphens is at the beginning,
between the words or at the end, the HTML output will still be:

<h2 id="my-awesome-h2-title">My awesome H2 title</h2>
Anything before the last hashtag is ignored and special characters in the id's text are ignored too:
## My awesome H2 title { /!@# a comment ?%^& # -my= awesome+ h2 \ ( title ) | }

The HTML output will be: <h2 id="my-awesome-h2-title">My awesome H2 title</h2>
⚠️ Please be aware that the following special characters, if used inside the id's text after the last hashtag, will not be deleted:
& will be parsed to amp (ampersand)
" will be parsed to quot (quotation)
> will be parsed to gt (greater then)
< will be parsed to lt (less then)
As an example:
## Honey & Bees {#Honey & Bees}

The HTML output will be: <h2 id="honey-amp-bees">Honey & Bees</h2>
At build time, predefined ids will be generated into the HTML of the static site.
If you wish to disable this feature, set the addIdsToHeadings value to false in the Settings page.
The Gallery!
Since Blog-Doc turned into a CMS, I've planned to add a gallery and a way to retrieve images for the pages and posts directly.
Now it's almost done. Almost, because there is always space to bring on improvements.
For now, you can visit the gallery by hitting the /admin-gallery route, or go to the Administration page and click on the Gallery link in the menu or it's card.
In the global spirit of Blog-Doc, The Galley is pretty simple to use.
You'll find a drop zone where you can drop your image(s) or click on it and choose the image(s) you wish to upload.
⚠️ Once an image added, it will be directly uploaded to the images folder but will not be available yet in the gallery, you MUST click on the Add image(s) ✅ button to add the image(s) to the gallery!
You can also delete an image from the gallery by clicking on it's ✘ DELETE button.
Finally, to assign an image to a page or a post, you can, while creating or updating, choose an image from the gallery by selecting it directly from the page or post.
Themes
You can switch between themes and choose the design that suites your needs.
Blog-Doc comes with:
- A default theme based on the Responsive Side Menu Layout of Pure.css
- A clean-blog theme based on Clean Blog from Start Bootstrap
If a picture is worth a thousand words, a video is worth a million!
The embedded video was producing warnings and errors in the console, which is against my code standards, so I replaced it with a link.
A 30 seconds video showing the ability to instantly change the look and feel of your site with Blog-Doc.
I'll be adding more themes to Blog-Doc over time.
If you've coded a theme for Blog-Doc and wish to list it among the available themes, you can let me know in the Discussions of Blog-Doc's repository under the Ideas category.
Please keep in mind that Blog-Doc themes MUST only use plain JavaScript and cannot contain any code or image(s) that have publishing and/or distribution restrictions!
What's next?
I intend to make a lot of improvements to this app in my short free time.
You can take Blog-Doc as a prototype and modify it totally to use it with another design and/or another template language.
I really hope that this app will be useful in any way for a lot of people out there, I'm considering it as my personal contribution to the Node.js and Markdown communities.
Ideas, comments and suggestions are most welcome.
SYA,
LebCit
Built with ❤️ by LebCit